Hugelkultur, pronounced Hoo-gul-culture, means hill culture or hill mound.
Instead of putting branches, leaves and grass clippings in bags by the curbside for the bin men... build a hugel bed. Simply mound logs, branches, leaves, grass clippings, straw, cardboard, petroleum-free newspaper, manure, compost or whatever other biomass you have available, top with soil and plant your veggies.
The advantages of a hugel bed are many, including:
The gradual decay of wood is a consistent source of long-term nutrients for the plants. A large bed might give out a constant supply of nutrients for 20 years (or even longer if you use only hardwoods). The composting wood also generates heat which should extend the growing season.
Soil aeration increases as those branches and logs break down... meaning the bed will be no till, long term.
The logs and branches act like a sponge. Rainwater is stored and then released during drier times. Actually you may never need to water your hugel bed again after the first year (except during long term droughts).
Sequester carbon into the soil.
On a sod lawn
Sepp Holzer (hugelkultur expert) recommends cutting out the sod, digging a one foot deep trench and filling the trench with logs and branches. Then cover the logs with the upside down turf. On top of the turf add grass clippings, seaweed, compost, aged manure, straw, green leaves, mulch, etc...
") Hugel bed in Ontario, Canada (By Travis Philip)
Hugel bed in Ontario, Canada (By Travis Philip)
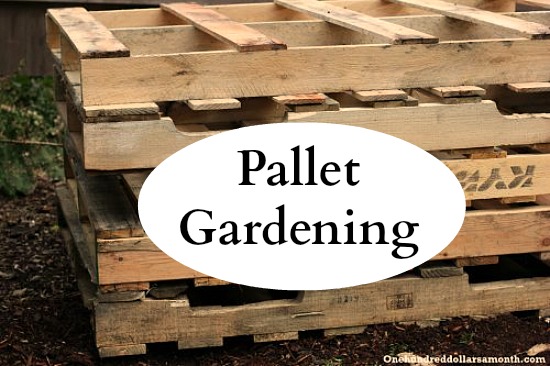
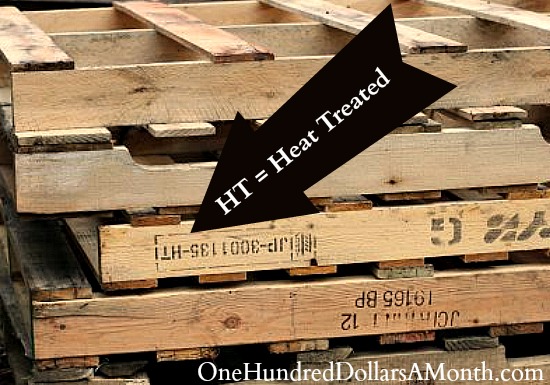
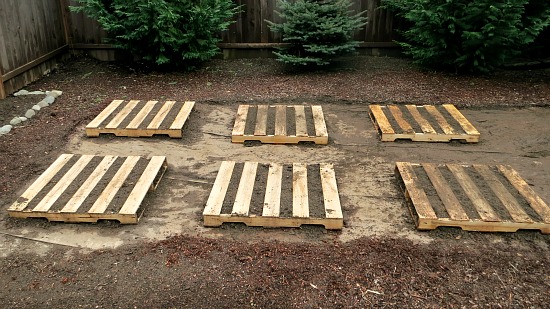
 Hugelkulter from permies.com: Pallets used around periphery
 Steeped raised beds: From 'Sepp Holzer's Permaculture'
Sepp Holzer recommends steep hugel beds to avoid compaction from increased pressure over time. Steep beds mean more surface area in your garden for plants and the height makes easy harvesting. The greater the mass, the greater the water-retention benefits.
 Vertical logs
Hugel bed dug in clay with logs put in vertically, next branches and lots of wood chips. Top 6" will be wood chips and dirt. This bed will store water and give nutrients for many years to come.
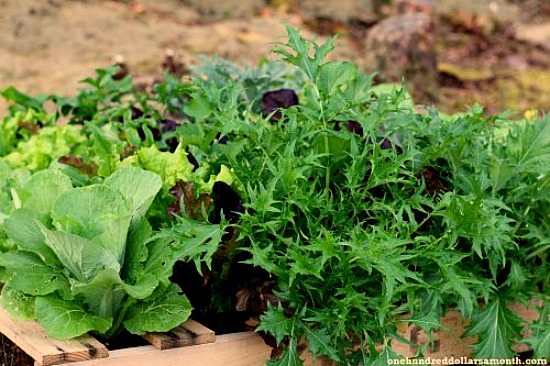
Straw bale gardens require less soil, less water and hold heat. As the straw breaks down nutrients feed the plants. Combining a straw surround with a hugel interior, topped by lasagne layering is an excellent idea for an area with poor quality soil.
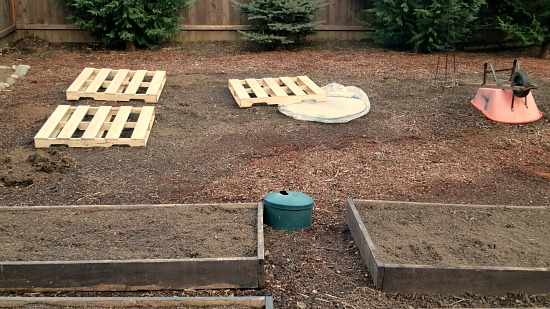
Hugel bed in Ontario, Canada (June 28) by Tim Burrows. Tim surrounded his very tall hugel bed in pallets!
Sheet mulching (lasagne gardening) is like composting in place. Above: just a suggestion as to sheet mulching layers. Nitrogen-rich material such as fresh grass clippings or green leaves put right on the hugelkultur wood would help jump start the composting process. Could also include seaweed, straw, dead leaves, leaf mould, etc...
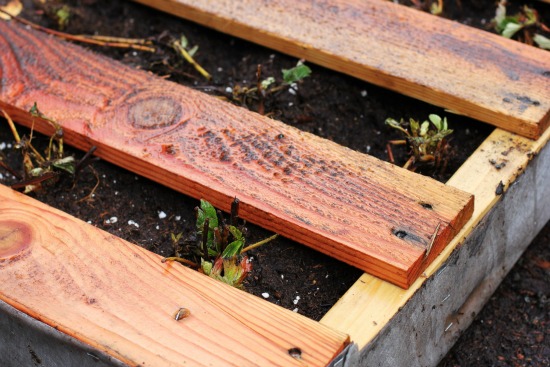
The first year of break down means the wood (and fungi) steal a lot of the nitrogen out of the surrounding environment, so adding nitrogen during the first year or planting crops that add nitrogen to the soil (like legumes) or planting species with minimal nitrogen requirements is necessary, unless there is plenty of organic material on top of the wood. After the wood absorbs nitrogen to its fill, the wood will start to break down and start to give nitrogen back in the process. In the end you will be left with a beautiful bed of nutrient rich soil.
Tree types that work well in hugelkultur:
Hardwoods break down slowly and therefore your hugel bed will last longer, hold water for more years and add nutrients for more years. But softwoods are acceptable as well, a softwood bed will just disintegrate quicker. Mixing woods with softwoods and branches on top, to give off nutrients first, and hardwoods on bottom, sounds like a plan if you have access to multiple types of wood. Yet the newly decomposing softwoods at top will eat up a lot of nitrogen at first, so compensate for that.
Woods that work best:
Alders, apple, aspen, birch, cottonwood, maple, oak, poplar, willow (make sure it is dead or it will sprout).
Trees types that work okay:
Black cherry (use only rotted), camphor wood (well aged), cedar/juniper/yew (anti-microbial/anti-fungal, so use only at very bottom or unless already well aged. Cedar should be broken down before new plant roots reach it), eucalyptus (slightly anti-microbial), osage orange (exceptionally resistant to decay), Pacific yew (exceptionally resistant to decay), pine/fir/spruce (tannins and sap), red mulberry (exceptionally resistant to decay).
Tree types to avoid:
Black locust (will not decompose), black walnut (juglone toxin), old growth redwood (heartwood will not decompose and redwood compost can prevent seed germination).
Further resources
Exclusive content and FREE digital access to over 20 years of back issues


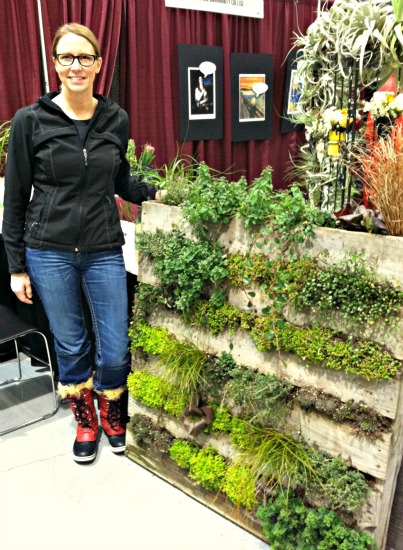 Here is a picture of me with the inspiration for this project.