Greenhouses are great to have for so many reasons. They extend the growing season in cold climates and can allow you to grow varieties of plants you may not otherwise be able to grow in your area. They are perfect for starting seeds and can provide a nice little calming retreat. Large or small, building a greenhouse doesn’t have to break the bank. Here are 13 inexpensive DIY greenhouse ideas that include plans or tutorials.
1. This simple hoop greenhouse by PondPlantGirl on instructables cost less than $25 to build. All you need is some PVC pipe with connectors, zip ties, and plastic sheeting. The full set of instructions is available here.

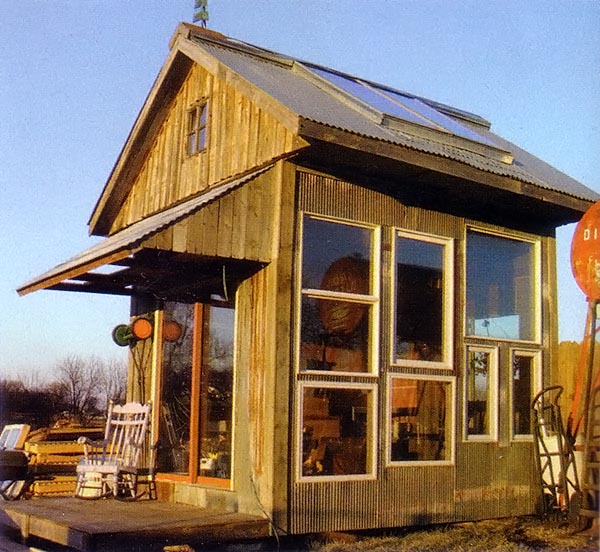
2. For something a little larger and more elaborate, check out this greenhouse project byKenton Knowles on Mother Earth News. This gorgeous greenhouse is nice enough that it could double as a guest house. The cost is higher, but a building like this would make a beautiful asset to most properties, and it could be built out of recycled materials to save money.
3. This beautiful greenhouse was built out of recycled materials by Montana Wildlife Gardener. Check out their building process and all the wonderful uses for this greenhousehere.

4. The Door Garden provides a detailed set of instructions for how to build this nice 165 square foot hoop greenhouse – and it costs less than $1 per square foot.

5. This adorable mini greenhouse is made using recycled storm windows, so it cost nothing in materials! It is the perfect size to fit on a porch or balcony for those with limited space. See how to build one on Design Dreams by Anne.

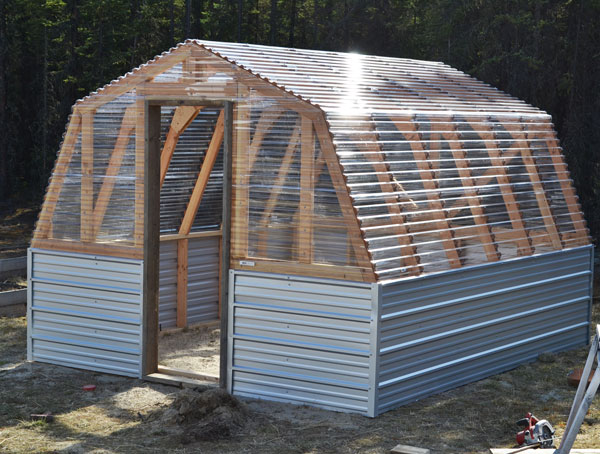
6. This barn-style greenhouse by Ana White was built quickly and has tons of space inside. She provides the full plans and excellent instructions here.
7. To protect tomatoes from rainy weather, Sow and Dipity built this small hoop greenhouse in about an hour for less than $50. See the full tutorial on how to build your own here.

8. This 8 foot x 10 foot greenhouse from Build Eazy has plenty of floor space and height, with lots of room to add shelves. It is easily customized, depending on your materials budget. See the full set of plans here.

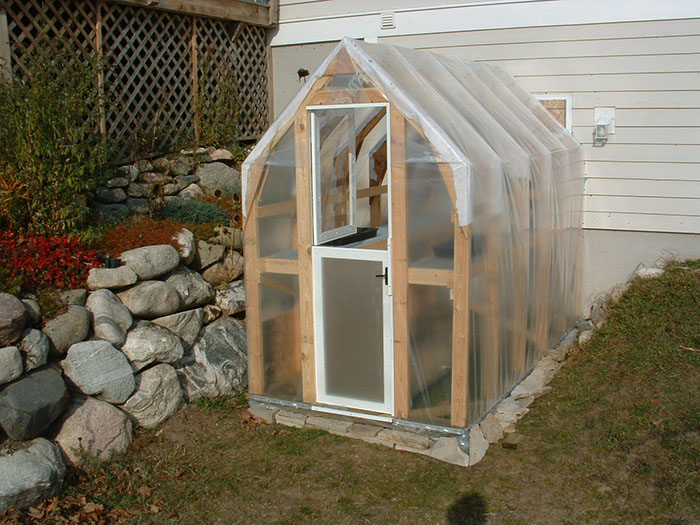
9. This simple but durable greenhouse by ThinMac acts as an extension off the house and has held up to years of use. See the full process and updates here.
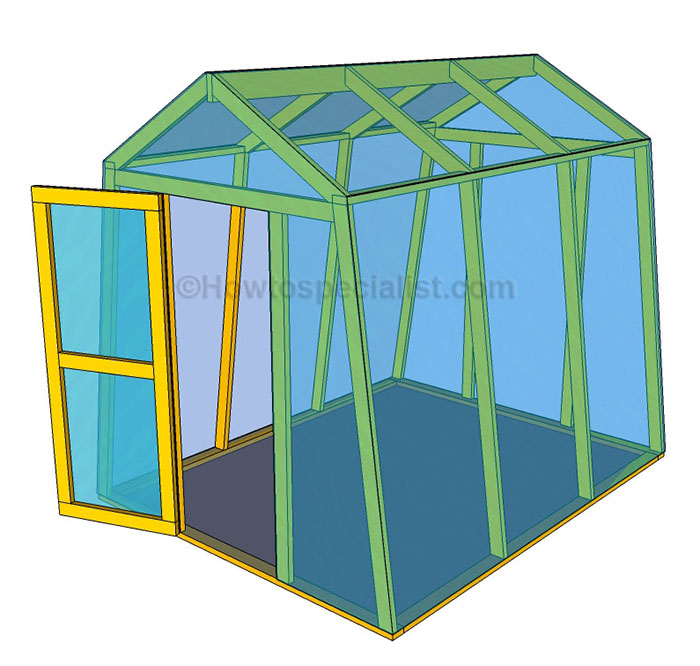
10. Here is a simple greenhouse from How to Specialists that can be scaled up or down depending on your needs. See the step by step instructions here.
11. Here is another adorable mini greenhouse that uses recycled CD cases. This awesome tutorial can be found on So You Think You’re Crafty.

12. See a detailed set of instructions for this inexpensive DIY greenhouse on Idea Donna Farm.

13. Lastly, this beautiful geodome greenhouse from Northern Homestead is not quite as difficult to build as it looks. They provide a detailed tutorial to follow and built it without a permanent foundation so it did not require permits and can be moved around the yard.